What is toothpaste anyway and why is it so ubiquitous?
For thousands of years, humans have scrubbed their teeth with various abrasive materials, most commonly in a powder. What we see in the toothpaste aisle today is a wide array of hard-to-pronounce ingredients, artificial colors and flavors (even sparkles!) and marketing schemes capitalizing on our collective cultural fear of looking unattractive or having bad breath that really took hold in the 1930s, 40s, and 50s.
Effective tooth cleaning can be as simple as using full-mineral sea salt (such as Real Salt,) baking soda, coconut oil, or activated charcoal powder. But if you like the feel and ease of a paste, and you want to be able to add some flavor, here’s a basic paste recipe to get you started. Not only is this going to be good for your teeth, it’s not a problem if it gets swallowed.
Remineralizing Toothpaste
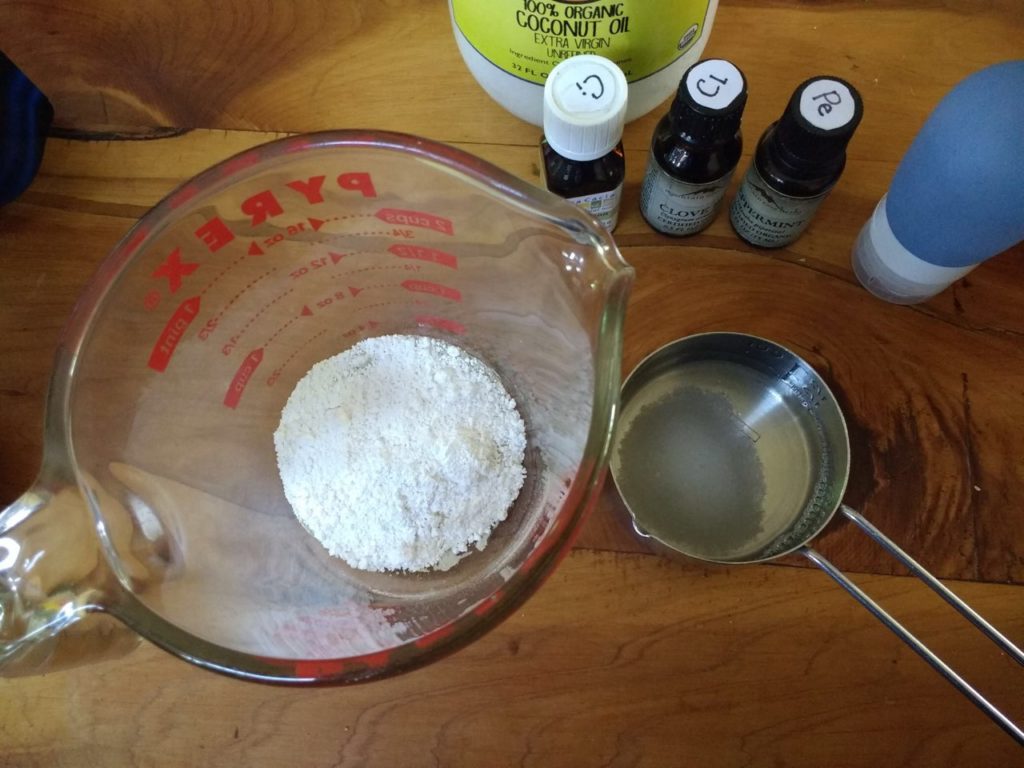
1 Tablespoon Calcium Carbonate
1 Tablespoon Bentonite Clay
2 teaspoons xylitol (more or less for desired sweetness)
1/2 teaspoon sea salt
2 teaspoons coconut oil, melted
2 Tablespoons water
15 drops essential oil: 5 drops of clove plus whatever else you like (peppermint, orange, or cinnamon are popular at our house)
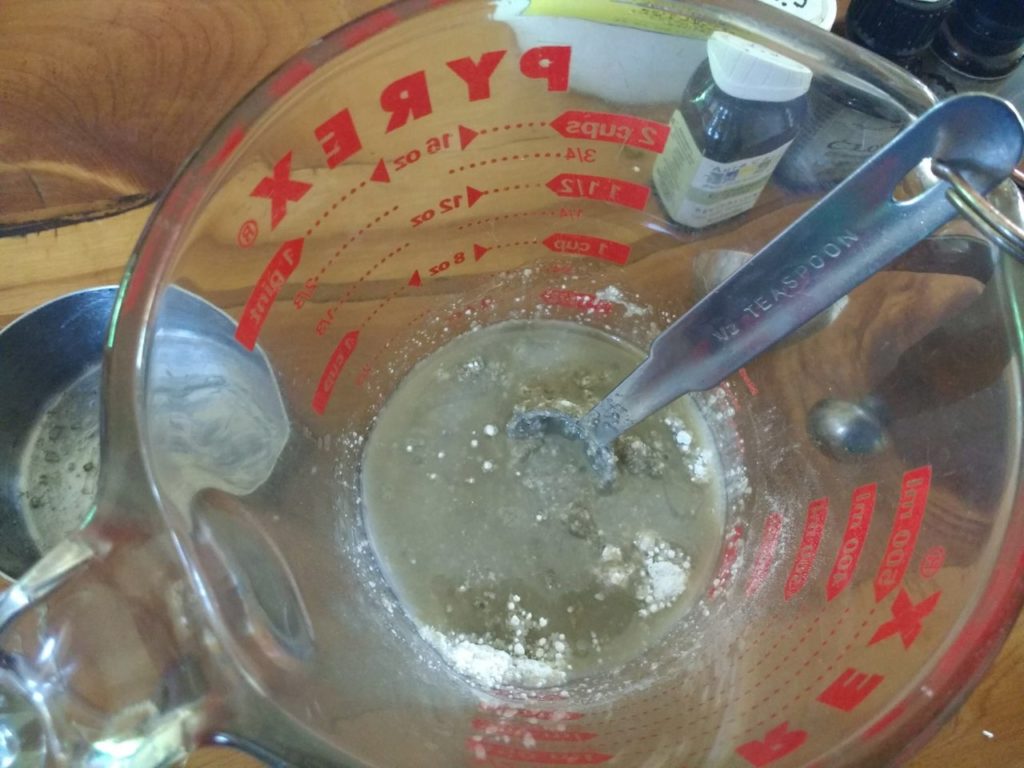
Combine dry ingredients.
Add liquid ingredients.
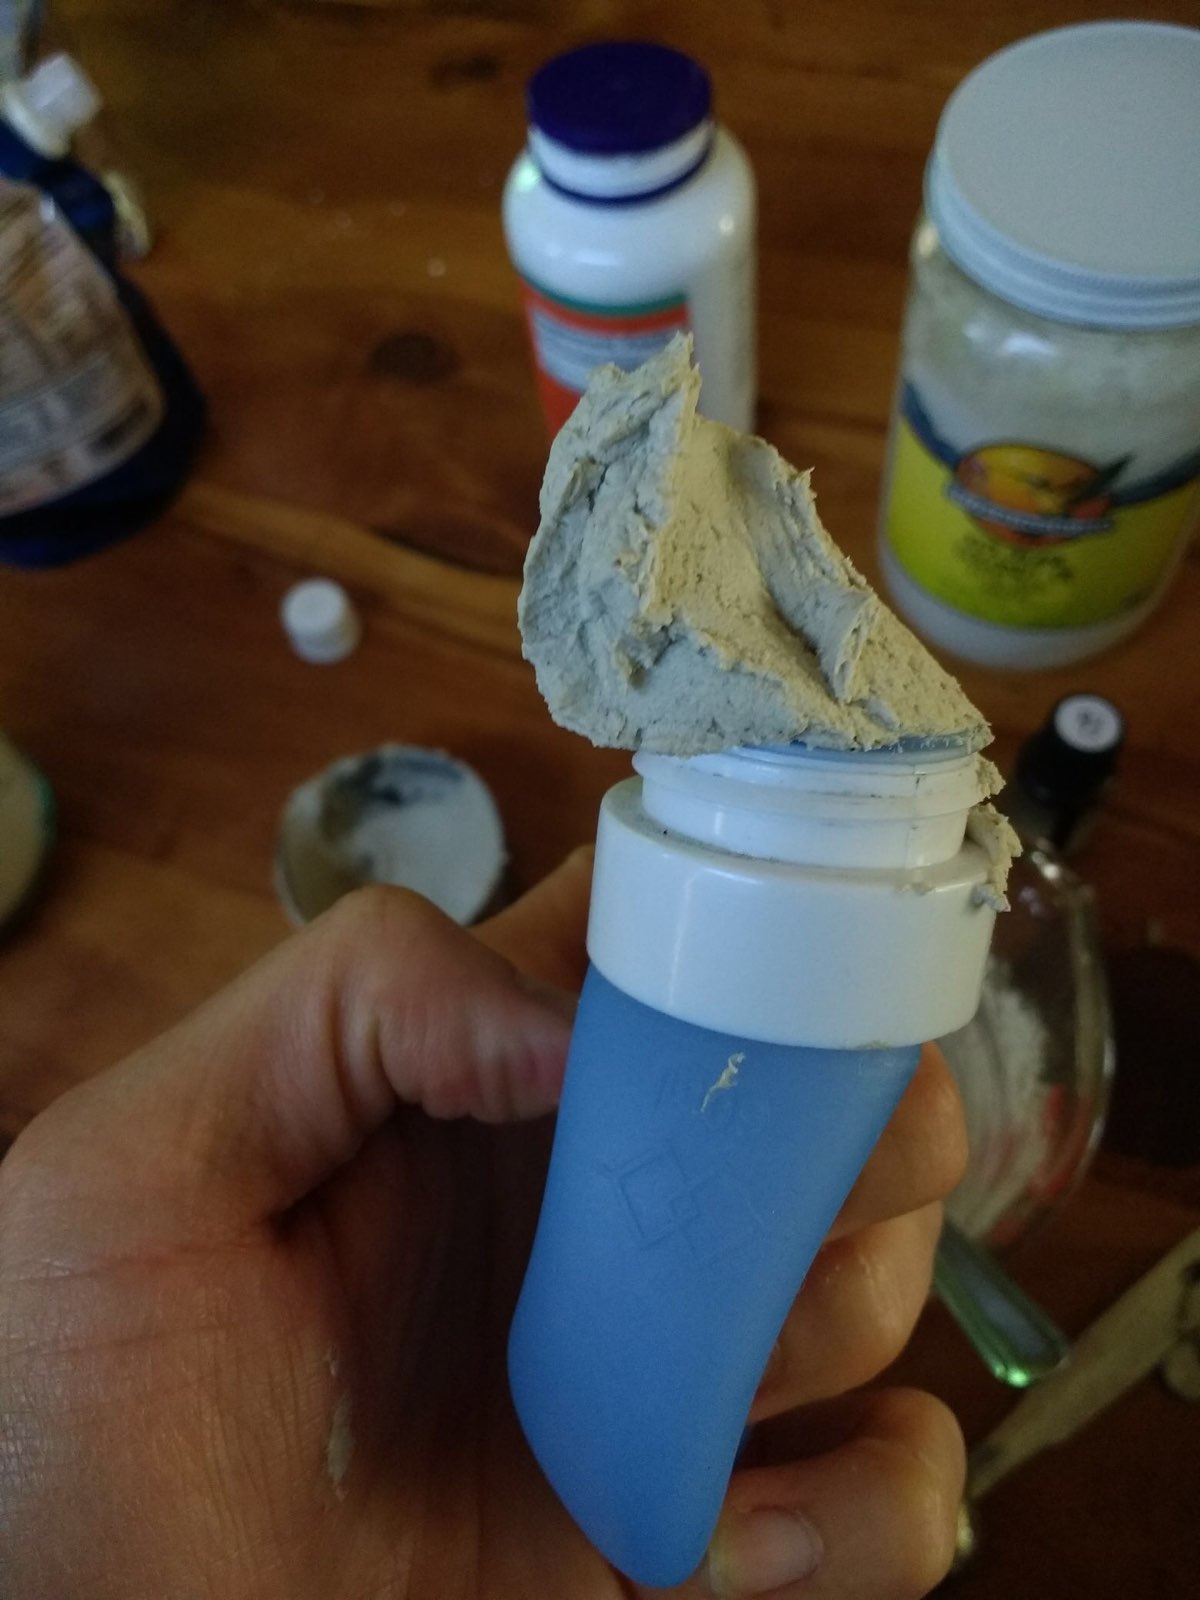
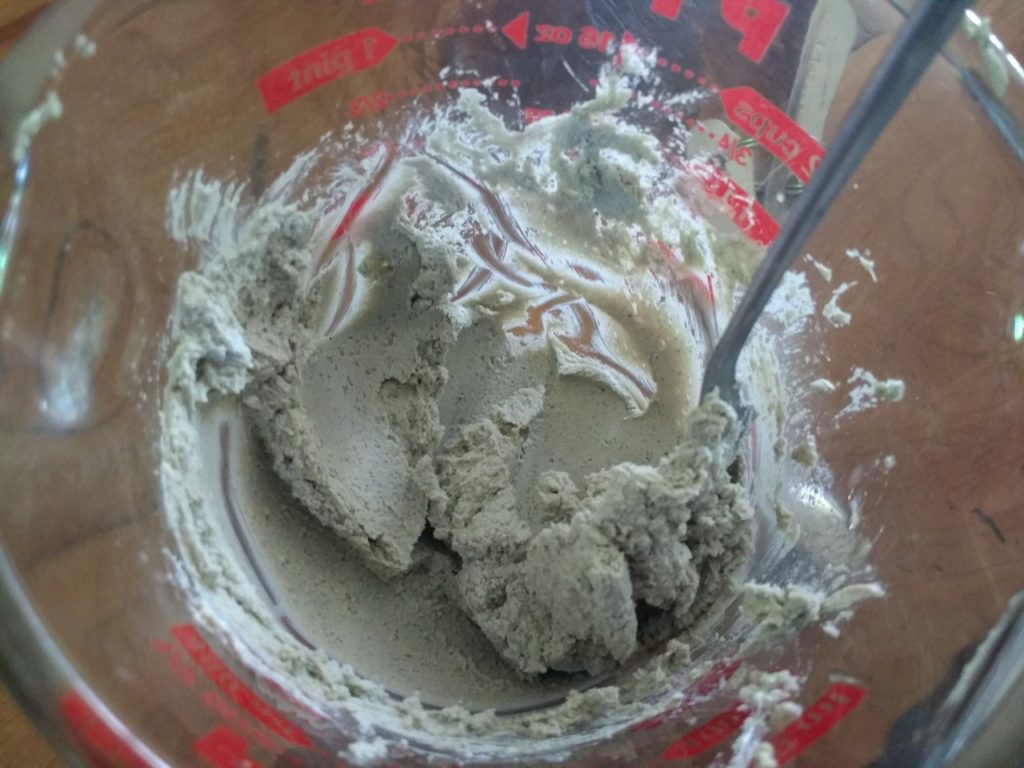
Mix well until it forms a smooth, grey paste. Add more water as necessary, you want it to be able to squirt easily out of the tube.
Optional additions: activated charcoal powder, baking soda, aloe vera juice (in place of water)
Why these particular ingredients?
The calcium and clay have remineralizing qualities and provide that paste consistency. The xylitol is somewhat controversial but it adds sweetness without causing decay. Salt helps as a preservative and keeps bacteria from growing, as does the coconut oil. I get the calcium and xylitol from anywhere that sells supplements. The clay and essential oils I like to get from
Mountain Rose Herbs. Clove oil is spendy and could be left out, but is a natural antimicrobial/antifungal/
antiseptic. (For additional information on essential oils, check out our
blog post on essential oils as well as this
ultimate guide to essential oils).
Then the tricky part, figuring out how to get it on your brush. You can put it in a little dish that you swipe out of every day, but if not tightly covered it will get dry and hard to use pretty fast. A small glass jar with a screw-on lid works, but we tend to break glass jars in the bathroom sink on a regular basis if kept in the medicine cabinet. This recipe fits pretty well in a silicone squeeze travel bottle, which is a little tedious but if you thin your paste out a bit, you can spoon it in. Over time the paste thickens considerably, so being too thin is usually not an issue. I have found that the first thing to fail is the cheap plastic lid, so I’m thinking of trying some higher quality refillable squeeze pouches like
these.
Of course, if at any point it seems to be growing mold or smelling funky, throw it out. Ever since I added the salt, this has not been an issue, even though it may take 2-3 months to go through a tube.
An extra note on young kids and teeth
Both of my kids had 4+ cavities on their first trip to the dentist around age 3, despite a healthy diet and regular brushing. I realized that I needed to be much more directly involved in brushing their teeth for them (after they had their turn) and I stopped using dried fruit and fruit leather as on-the-go snacks, and drinking juice. Apples, carrots, cheese and savory treats like chips turn out to be much better snacks in the long run for times like long car rides. We also switched to electric toothbrushes. Five years and they haven’t had any more cavities.
(If you enjoyed making your own toothpaste, check out our post about making your own face mask and toner!)