How to get a head start on your garden with seed starts
Starting your own garden seed starts indoors is a great way to save money and get a head start on the growing season. It just takes a bit of equipment, space, electricity and time, but once you have your set up, you’ll be ready for many years of seed starts.
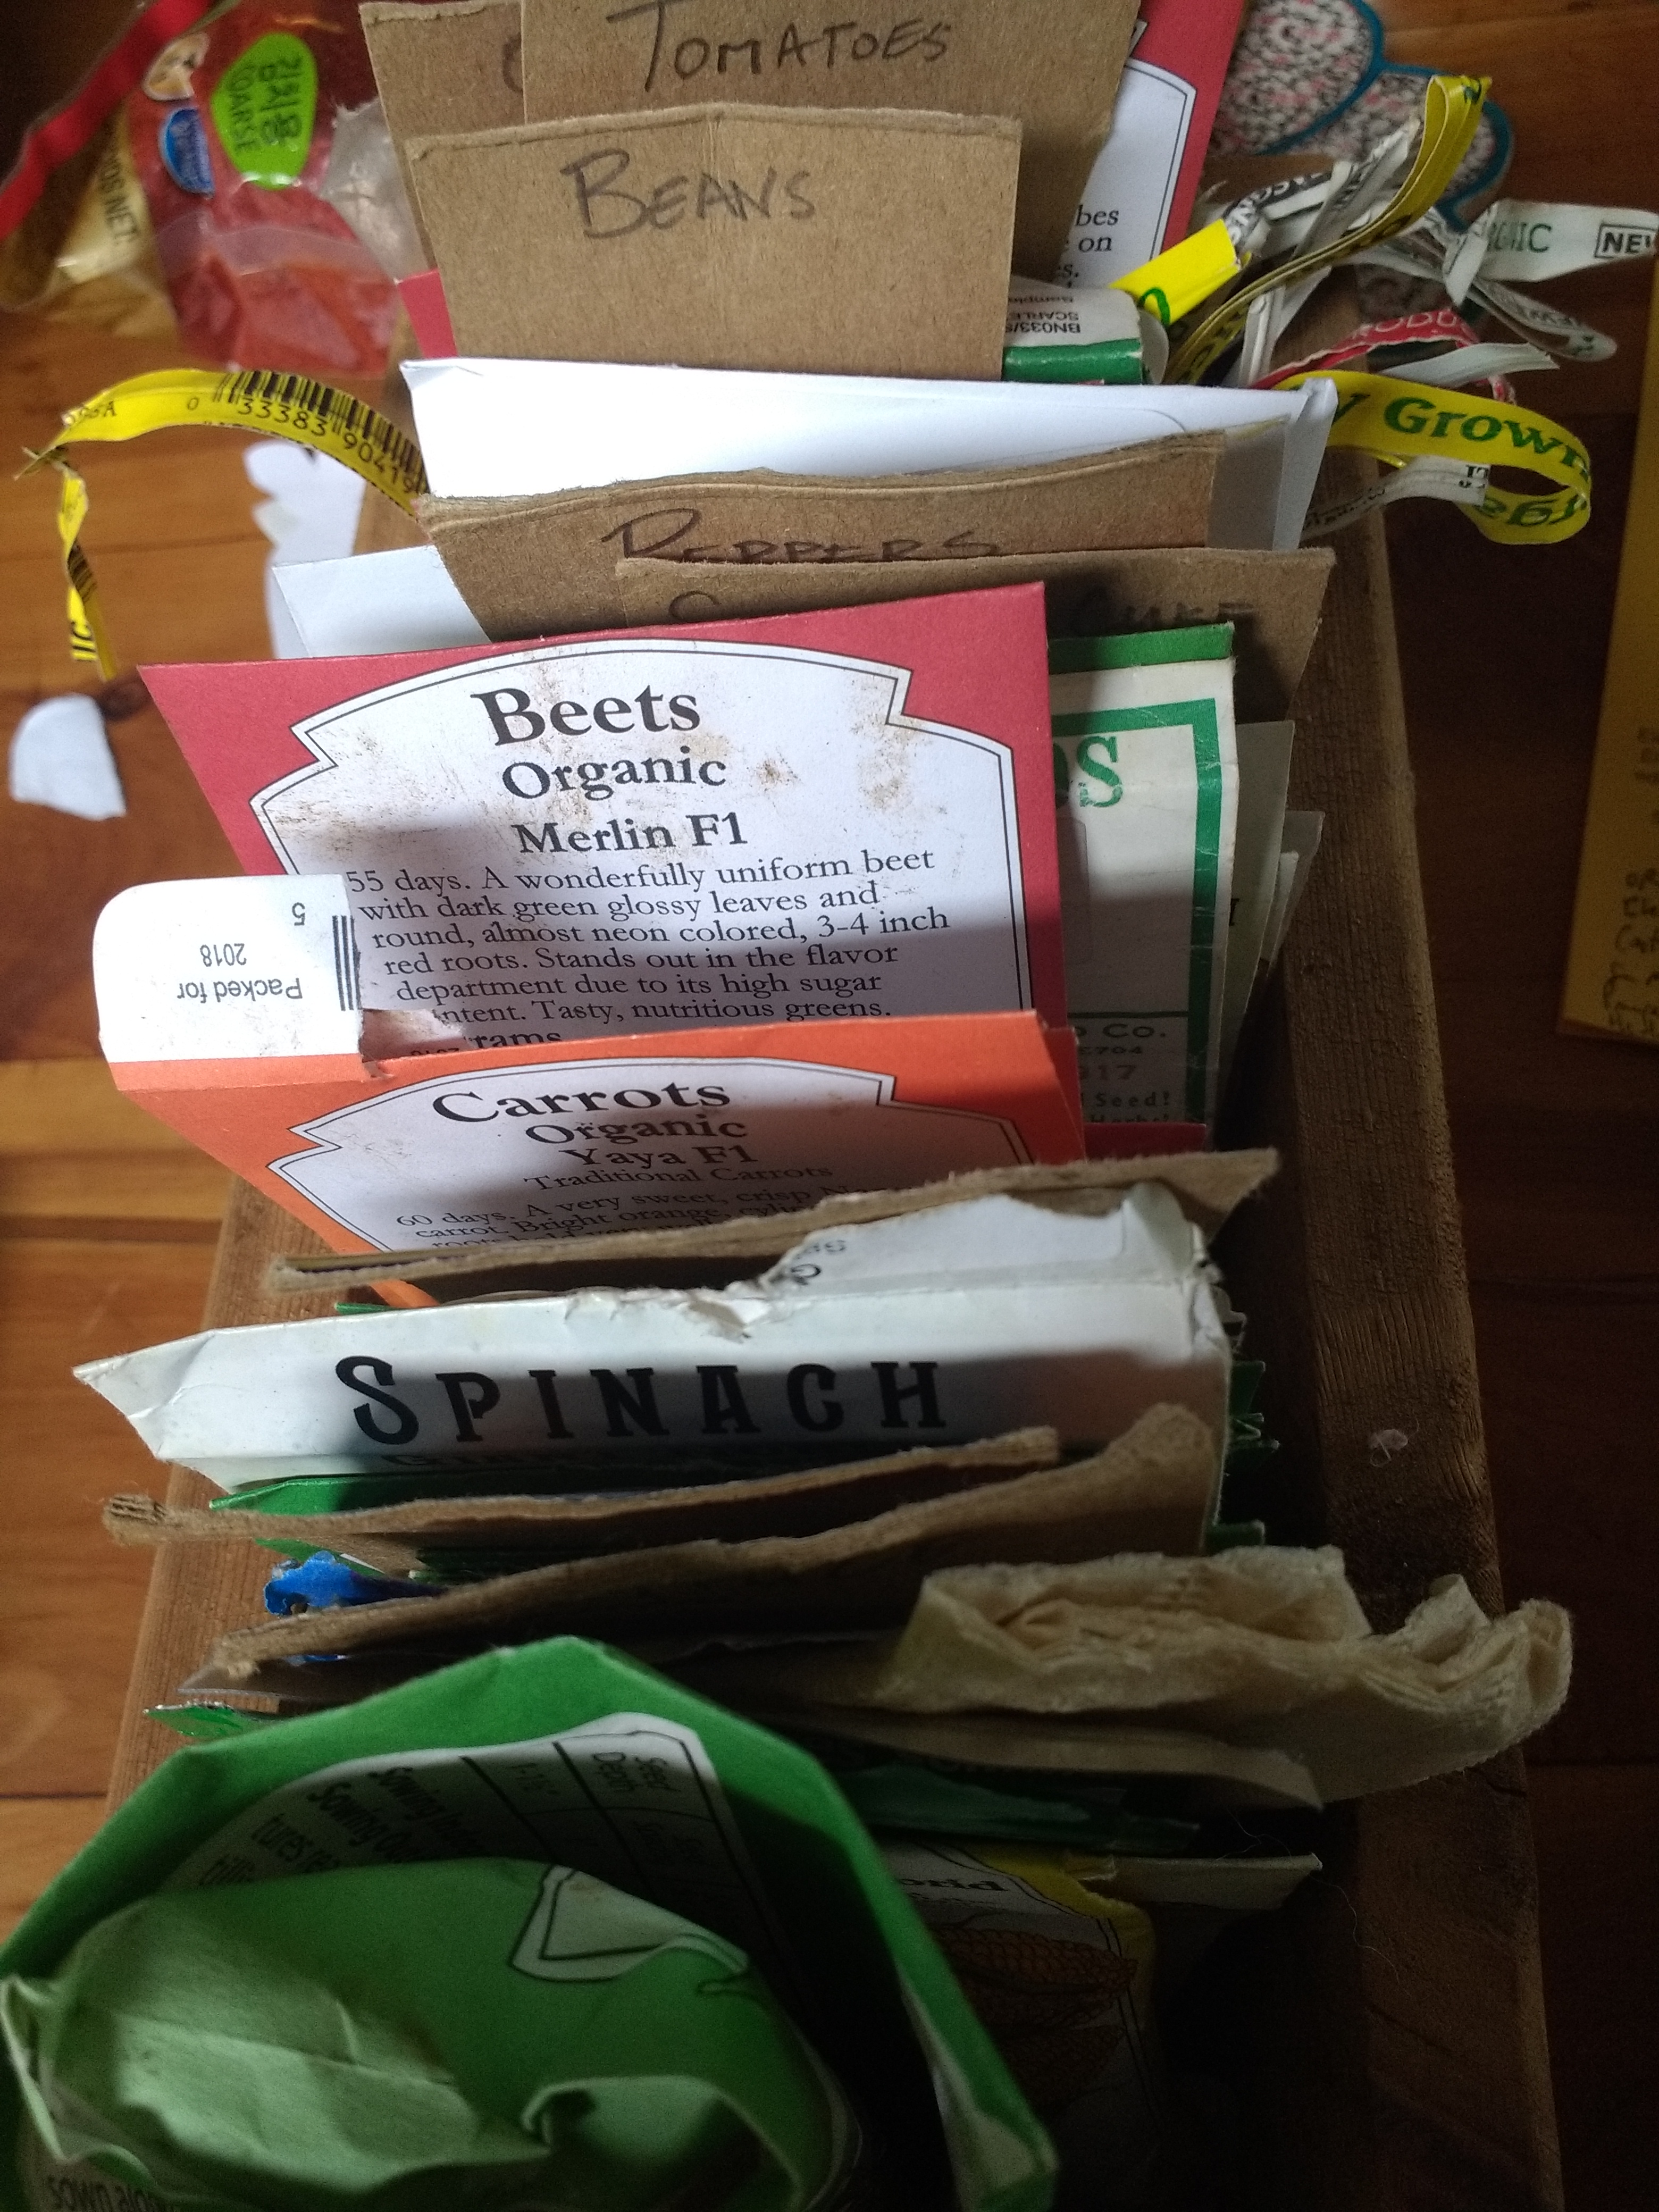
Not all plants need to be seeded indoors, but almost everything *can* be started inside if you have space. When you start and what you start will depend on where you live. For us here in Portland, Oregon, we plant greens like lettuce, spinach, bok choy, cabbage, kale, and arugula in mid-February and transplant them outside in mid-March. Even though we still get freezes and occasional snow after that, these things do fine. Then we refill the inside seeding boxes with tomatoes, peppers, and basil seeds. Things like carrots, beets, cucumbers, beans, and peas are direct-seeded in the ground at their appropriate times as per the seed package instructions.
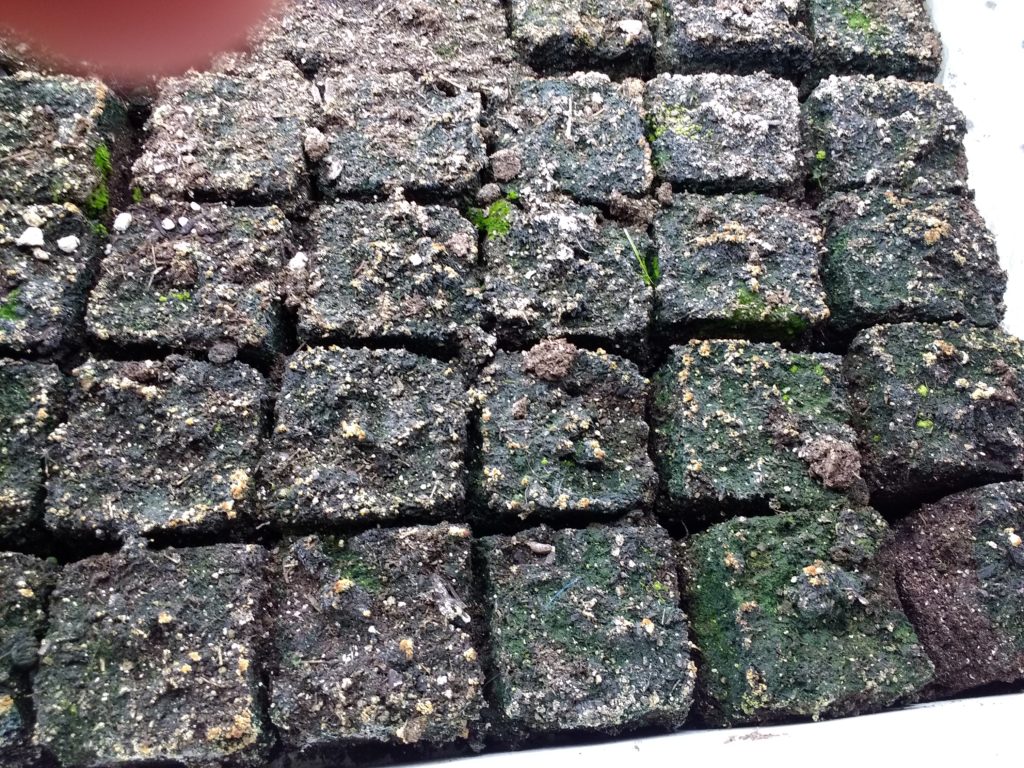
We have also gleaned some great tips from Eliot Coleman’s books. Using his soil blocking method has been a great way to produce lots of seed starts in our small space without tons of plastic pots, and they seem to transplant well.
The soil blocker is a tool that makes 4 little cubes of soil with an indent for the seed. It takes a bit of practice, and we’ve found that using bags of purchased potting soil has yielded better results than making our own mixture. We pop the blocks directly into plastic dough trays that are usually used in the bakery industry. More on the details of blocking the soil can be found here.
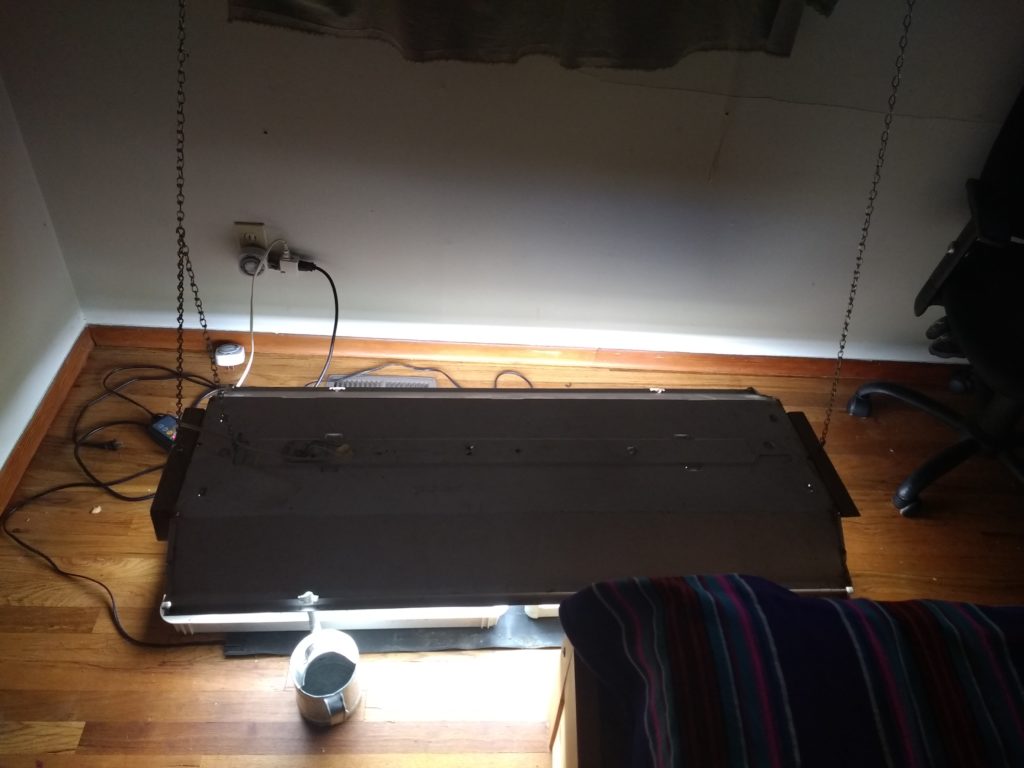
Once you’ve got your seeds in the little holes and a plug of dirt covering each one (don’t forget to label the box somehow!) then watered them, it’s time to get it under the lights. Forget the expensive grow lights with special bulbs, we picked up some old fluorescent light fixtures on Craigslist (a great place for gardening supplies in general) that hold 4 regular long bulbs. Put this on a timer to mimic daylight hours and either hang it or support it just a couple inches above the blocks. You will need to raise the lights as the plants grow. If your ambient temperature (and thereby your soil temperature indoors) is at least 60 degrees, you don’t need any extra heat. We did add a heated mat (also from Craigslist) this year for a specific pepper variety that needed 70 degree soil, but that is a bit of an exception. If you’re working in a cold basement or garage, a heated pad might be necessary, just temp your soil periodically with a kitchen thermometer if you’re not sure, and research what the soil temp needs to be for what you’re growing. They’ll need regular daily watering, which we do with a small kids watering can to keep it from going all over the floor. Make sure the blocks aren’t sitting in standing water, especially if your trays don’t drain, like ours.
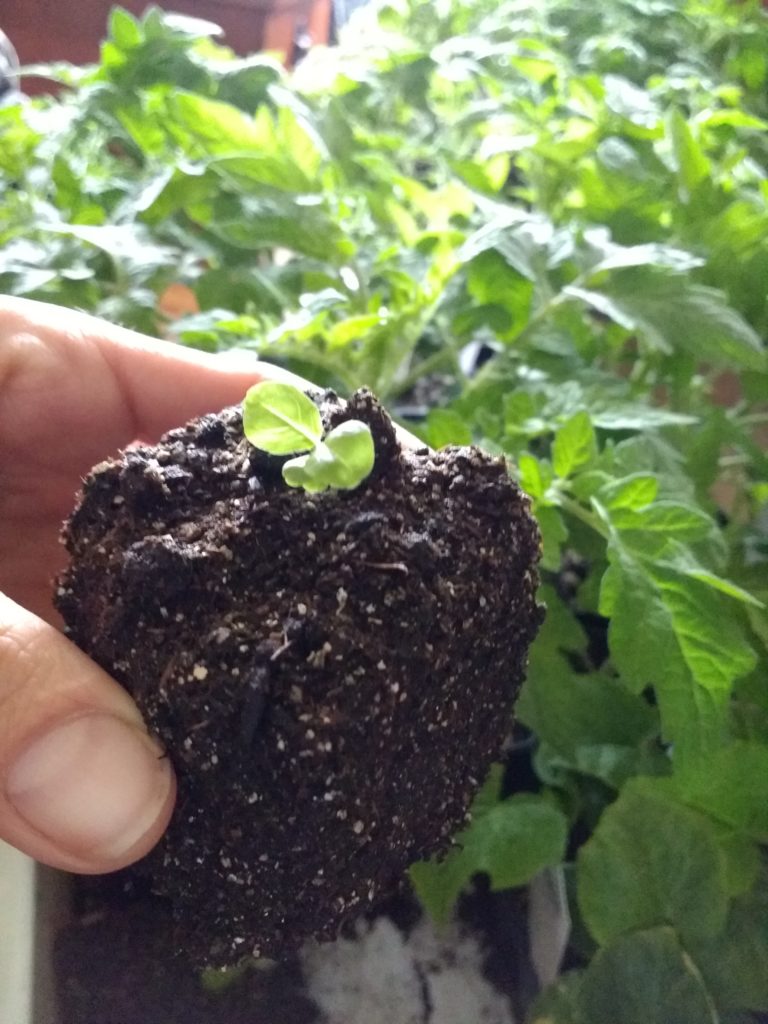
Once the plants are a few inches tall, which takes between 2-6 weeks for various plants, and depending on your zone, they’ll be ready to be transplanted outside or into their own larger pots. (There is also a larger soil block method, but we haven’t had great success with it.) Again, label right away– it’s amazing how quickly little seedlings get mixed up and you have no idea which tomatoes are what variety. You’ll notice the roots may be intertwined but you can gently pull the blocks apart. Just place the whole block in the hole and fill around it. Now you’ve given them a great head start over the weeds and bugs, and for pennies compared to buying plant starts. Extras can be planted in little pots to sell to friends or give away. If you’ve potted the blocks into larger pots, say for example 4” pots, you can put these back under the lights to keep growing if it’s still too cold outdoors.
A lot of things benefit from that bit of extra heat in the spring so once we put things outside, we often cover them in plastic. These simple hoops made of conduit have lasted us many years. We just clip on the plastic with huge binder clips and fold together the ends. On warmer days to keep them from getting overheated we open the ends to let breeze come through the tunnels, and also uncover them in (gentle) rain so they stay watered.
For more serious-scale farming, check out Gathering Together Farm’s method— we buy their produce at our restaurant here in Portland!
BIO
Leah Eads is an urban gardener & preserver, mom to un-schoolers, partner to avid jack-of-all-trades, drinker of tea, appreciator of cultures, hater of bios